English
 عربى
عربى
 Español
 русский
News
Home / News / Industry News / Why do data centers prefer wall-mounted cabinets? Revealing the secret of increasing space utilization by 50%
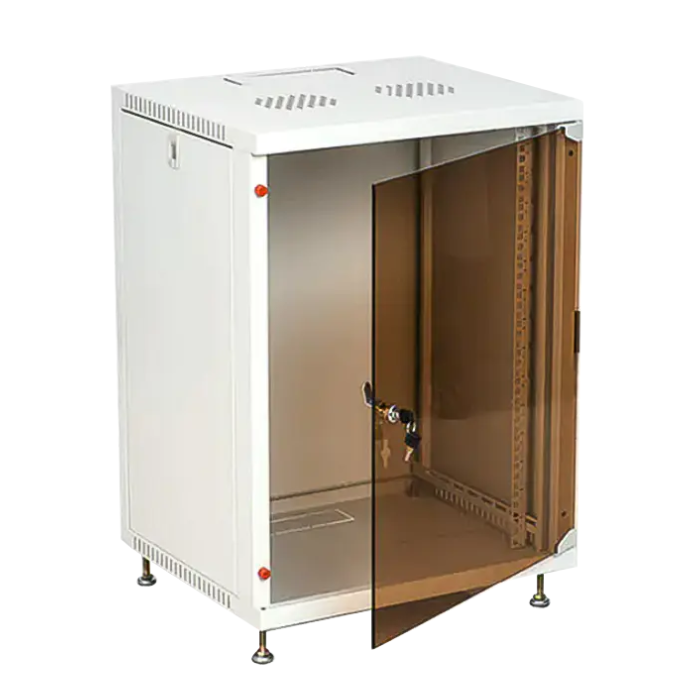
In the design of data centers and server rooms, space optimization and heat dissipation efficiency are core considerations. Although traditional floor-standing cabinets are stable, they often occupy a lot of ground space, while wall-mounted network cabinets are becoming the choice of more and more data centers due to their compact design, flexible deployment and efficient heat dissipation.
Content
|
Comparison items |
Wall-mounted cabinet |
Traditional floor-standing cabinet |
|
Space occupation |
Wall-mounted installation, zero floor occupation |
Requires independent floor space (600×1000mm) |
|
Load-bearing capacity |
High-quality models can reach 200kg+ (steel structure reinforcement) |
Usually 500kg-1000kg |
|
Heat dissipation efficiency |
Hollow back + top fan, faster heat exchange |
Relying on air conditioning system, high energy consumption |
|
Deployment flexibility |
Can be installed in corridors, aisles, columns, etc. |
Requires planning of special areas |
|
Cost-effectiveness |
Save room rental area and reduce TCO |
Low initial cost, but high long-term space cost |
Traditional computer room: cabinets are arranged on the ground, and the passages occupy 40% of the space.
Wall-mounted solution:
Cabinets can be installed on walls, columns, or even under the ceiling
2-3 times the number of devices can be deployed in the same area
Stackable architecture: some models support up and down series installation
Tool-free expansion: increase or decrease U positions through quick-release screws
Hidden wiring trough: reduce 30% of the cable clutter in traditional cabinets
Rotatable cable management rack: no need to disassemble the equipment for maintenance
Step 1: Positioning and marking
Use a laser level to determine the installation height (it is recommended that the bottom be 1.2-1.8m from the ground)
Mark the expansion bolt hole position (error ≤1mm)
Step 2: Drill and fix
Use M10 chemical anchor bolts for concrete walls
Use through-wall screws + steel plate pads for brick walls
Do not use plastic expansion tubes (insufficient load-bearing capacity)
Step 3: Cabinet hanging
Two people work together to lift, first hang the upper hook and then lock the bottom
Use 0.1m m feeler gauge to check the fit between the cabinet and the wall (gap <2mm)
Step 4: Verticality correction
Dual-axis level test (front and back/left and right tilt ≤1°)
Adjustment by gasket (stainless steel gasket is corrosion-resistant)
Step 5: Seismic reinforcement
Install inclined steel wire rope (diameter ≥6mm) in earthquake zones
Anti-slip rubber pad thickness ≥5mm
Step 6: Load test
Gradually increase counterweight (20%→50%→100%)
Continuously monitor settlement for 72 hours (should be ≤0.5mm)


")
")


We are a company mainly engaged in the manufacturing of network cabinet , charging cart and other infrastructures.
Product Classification
Address
No.12 Fushan Road,Guanhaiwei Town,Cixi City,Ningbo,Zhejiang,China
PHONE
+86-17857397994