English
 عربى
عربى
 Español
 русский

News
Home / News / Industry News / How to Mount a Power Strip: Screw, Adhesive, and Under-Desk Methods Compared
Every desk setup eventually ends up with the same problem: the power strip sliding around on the floor, several sockets blocked by adapter bricks, and a cable snagged by the first person who walks past. Mounting the strip takes about twenty minutes, but choosing the right method matters as much as the mounting itself. You can fix a power strip to a wall with screws, hold it in place with heavy-duty adhesive tape, or hang it under a desk with a bracket, and each approach works best in different situations.
Content
Most power strips are built for mounting. Look at the back of the casing and you will usually find one or two keyhole slots: a narrow vertical channel with a wider circular opening at the bottom. The principle is simple: screw heads are driven into the wall with a couple of millimetres left proud, the wide part of each slot is pushed over the screw head, and the strip is slid down so the heads lock into the narrow channel.
Some strips use plain recessed holes instead of keyholes; a few budget models have no mounting provision at all, which rules out screw mounting. Before deciding on a method, confirm three things:
Screw mounting is the most secure option and the right choice for workshops, garages, server areas, and any spot where the strip will see heavy use. It will not peel off in heat or humidity, and it holds even when a bulky laptop adapter is pulling sideways on the casing.
The process takes about five minutes:
Two errors cause most failed installations: leaving the screw heads too proud, which lets the strip wobble, and driving them flush, which makes the keyhole impossible to engage. A small spirit level across the top edge before marking will keep the strip straight.
No-drill mounting appeals to renters, tiled walls, and anyone who dislikes making holes. Heavy-duty acrylic foam tape and Velcro-style picture strips are strong enough for a power strip, provided the surface is smooth and clean.
The steps are simple:
Check the rated weight on the tape pack. A six-outlet strip weighs under a kilogram, so a pair of strips rated at 2.7 kg leaves a comfortable margin, until a right-angle adapter brick adds leverage. If you plan to mount four or five heavy adapters, screw mounting is safer.
The underside of a desk is often the best location for a power strip at a workstation. The strip stays out of sight, the floor stays clear for feet and castors, and heavy adapters sit naturally on the strip without being knocked.
Options for under-desk mounting:
If the desk edge or frame gives you nothing flat to fix to, a 90-degree L-shaped mounting bracket can be clamped or screwed to the frame, giving the strip a flat metal surface to attach to. Position the strip 10 to 15 cm behind the front edge of the desk, out of knee range, and leave slack in the incoming power cord so it does not strain the sockets.
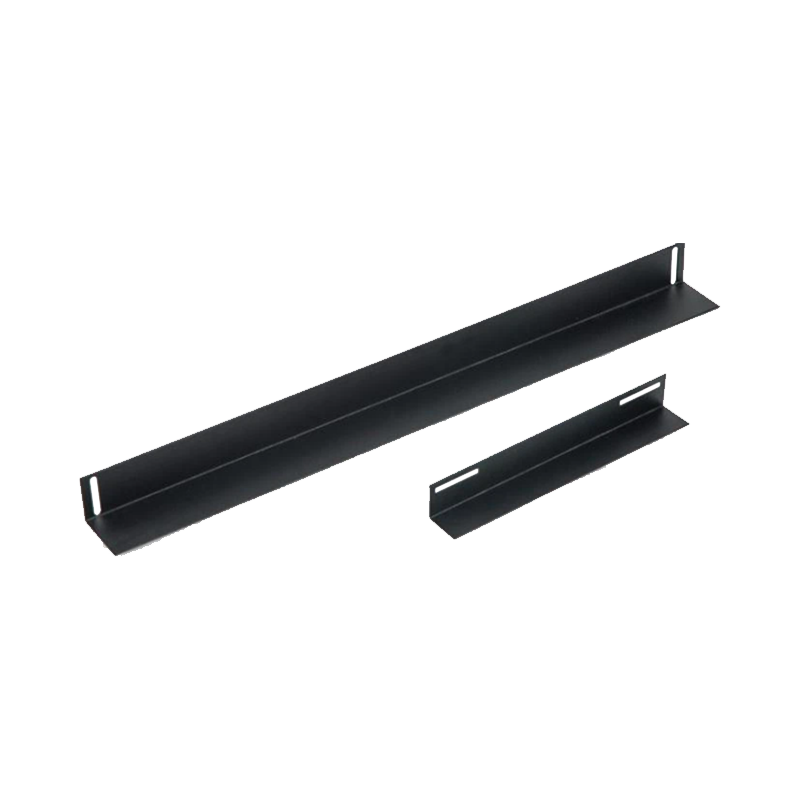 Custom 90 Degree L-type metal mounting bracket support rail Manufacturers, SupplCixi Communication Technology Co., Ltd is a China OEM ODM 90 Degree L-type metal mounting bracket support rail manufacturers and 90 Degre...View Product →
| Mounting method | Security | Wall damage | Best for |
|---|---|---|---|
| Screw mounting | High | Small holes | Permanent installs, workshops, garages |
| Adhesive tape | Medium | None | Rentals, smooth tile, glass |
| Under-desk bracket | Medium to high | Depends on bracket | Workstations, office desks |
The figures are typical ratings rather than guarantees. In practice the strip itself weighs very little, so the real test is leverage from heavy adapters and accidental pulls from snagged cables. Screws into a timber stud handle both without difficulty, which is why screw mounting remains the safest choice for high-traffic areas.
Where and how you mount a power strip matters as much as the method itself:
In rack and server rooms, a domestic power strip is the wrong tool. Rack-mount PDU units are engineered for continuous load and bolt directly into a 19-inch rack using the same keyhole or flange principle. The same wiring discipline applies everywhere: separate power and network cables, use a horizontal or vertical cable manager, and label each strip so you know which breaker feeds which device. For a systematic approach, see this guide to choosing the right cable management solution.
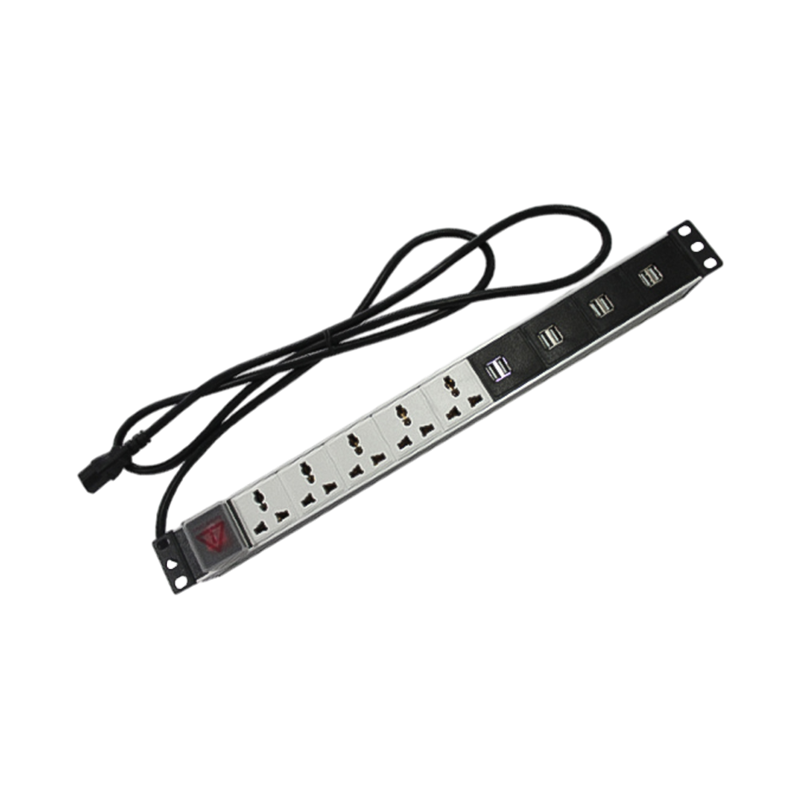 Custom Power Distribution Unit Manufacturers, OEM ODM FactoryCixi Communication Technology Co., Ltd is a China OEM ODM power distribution unit manufacturers andpower distribution unit factory, We sp...View Product →
Yes. Most power strips have keyhole slots on the back that fit over screw heads. If yours has no slots, heavy-duty adhesive tape or an L-shaped bracket will do the job.
Most do, usually one or two keyhole slots moulded into the rear casing. Budget models sometimes have plain recesses or none at all, in which case adhesive mounting is the practical option.
A typical pair of heavy-duty acrylic strips is rated at 2.7 to 4.5 kg, several times the weight of the strip itself. The risk comes from heavy adapter bricks adding leverage, not from the strip alone.
Yes, provided the wood is dry and the strip is not enclosed. Keep the strip away from soft furnishings and respect the electrical rating printed on the label.
Down or sideways is safer. Sockets facing up collect dust and small objects; sockets facing down shed dust and reduce stress on plugged cables.
Yes, if the weight rating is adequate and the surface is clean and smooth. Give the adhesive 24 hours to cure before loading the sockets with plugs.
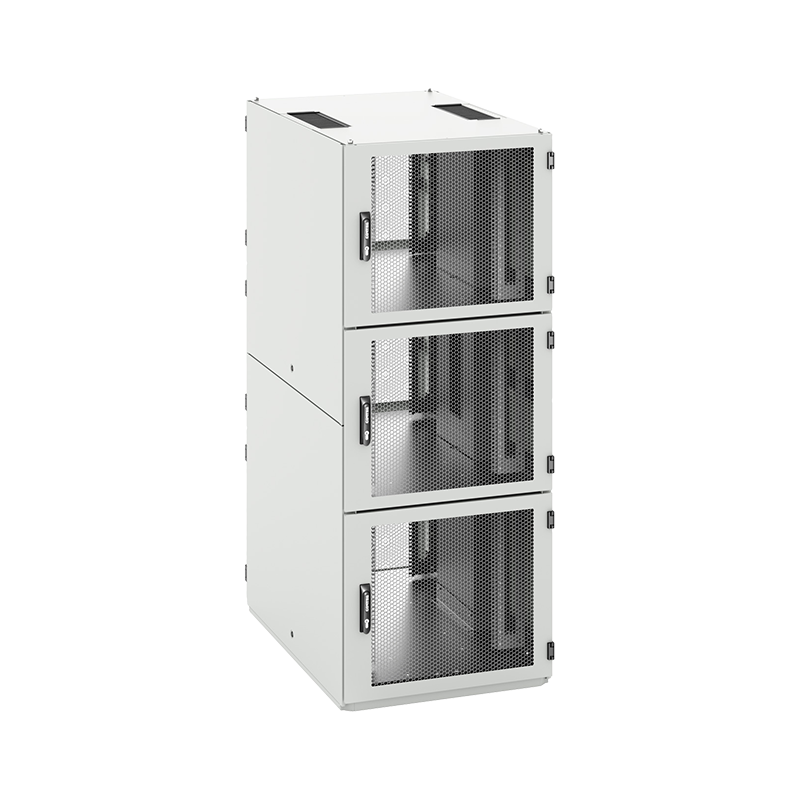
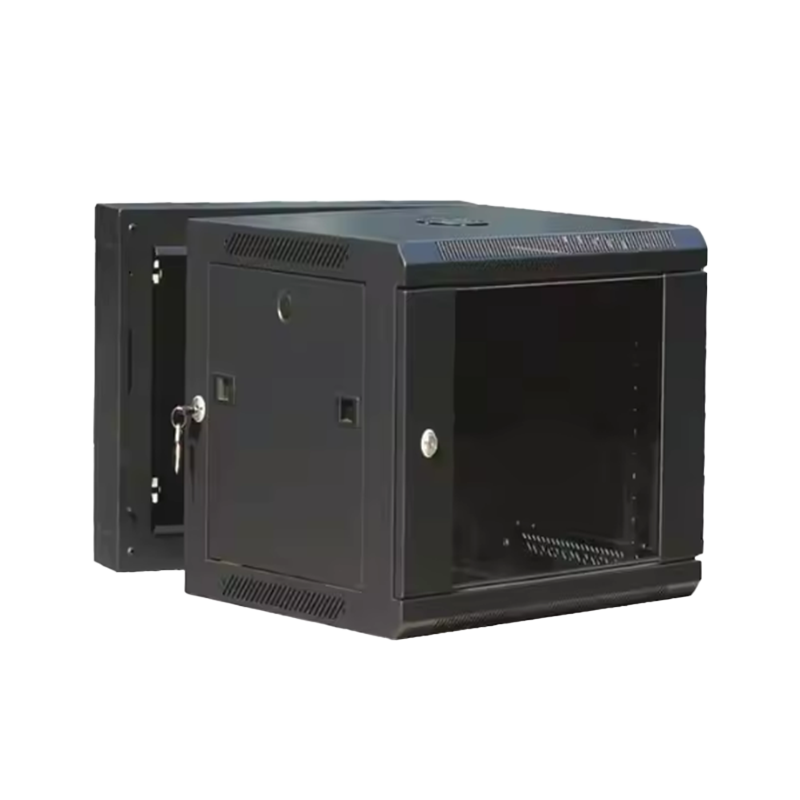
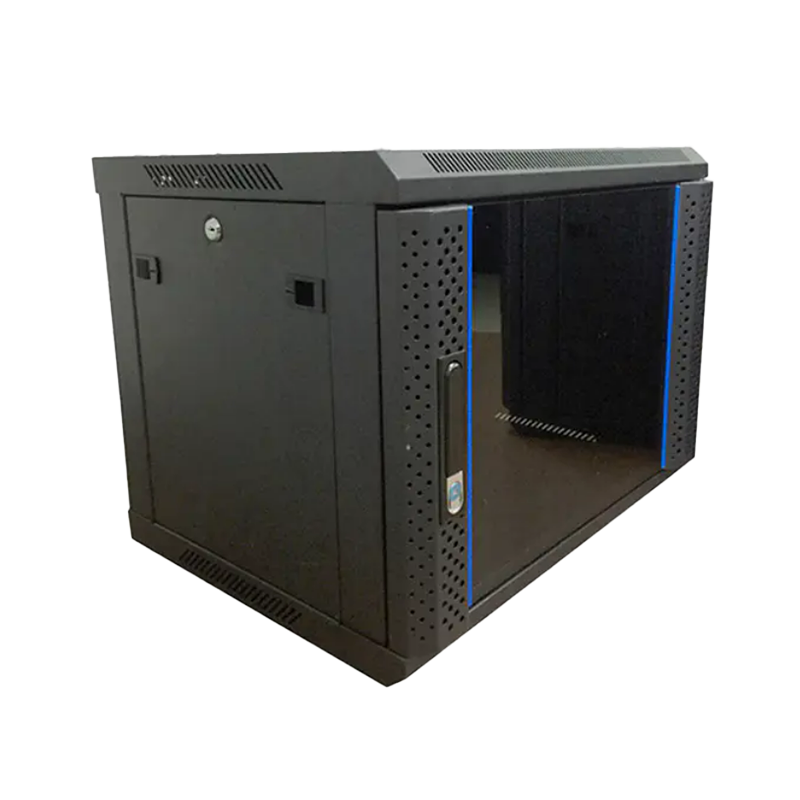
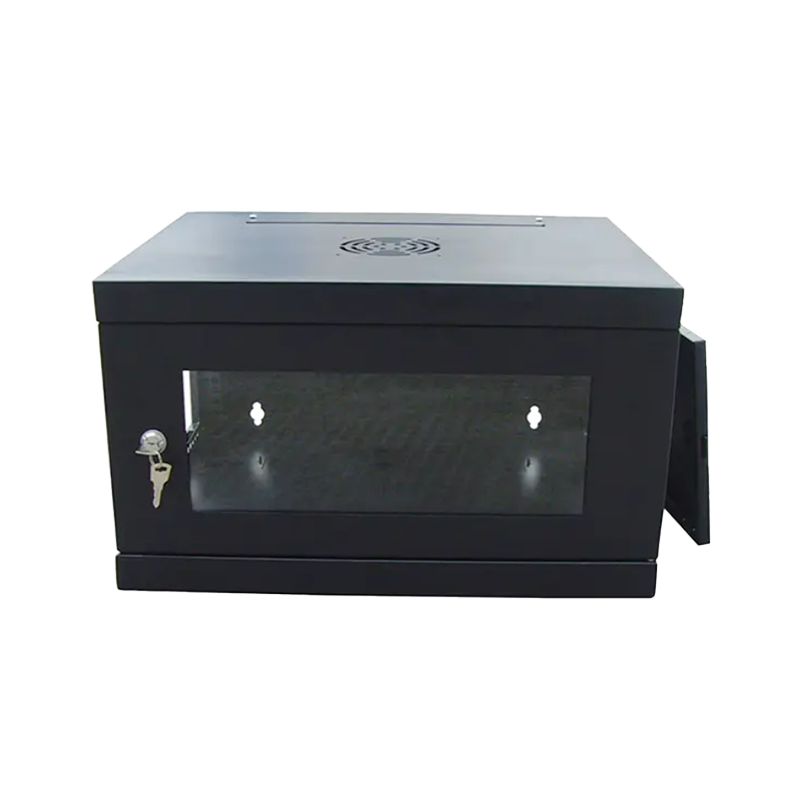
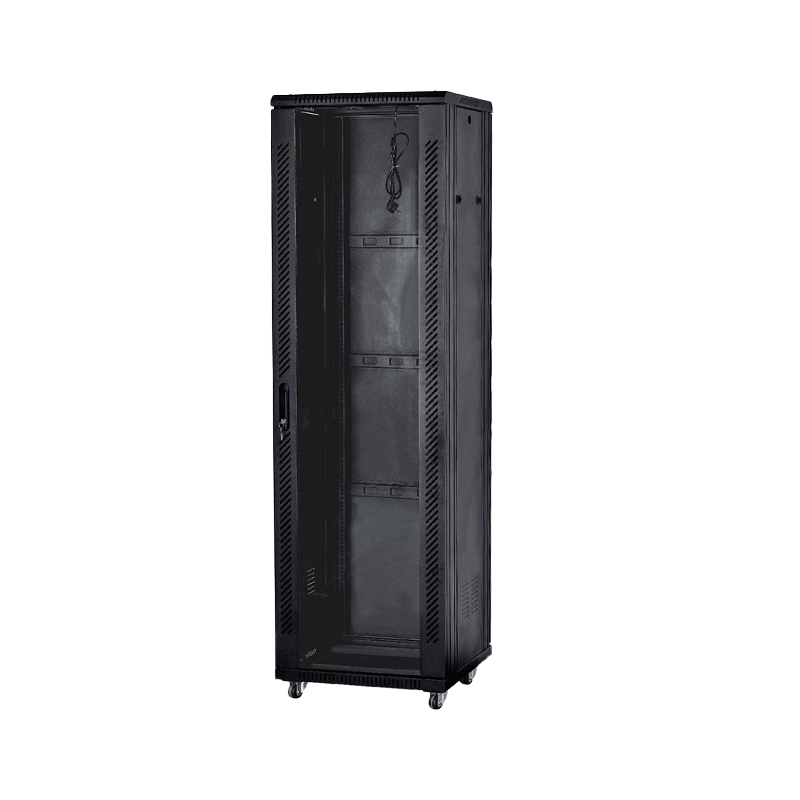
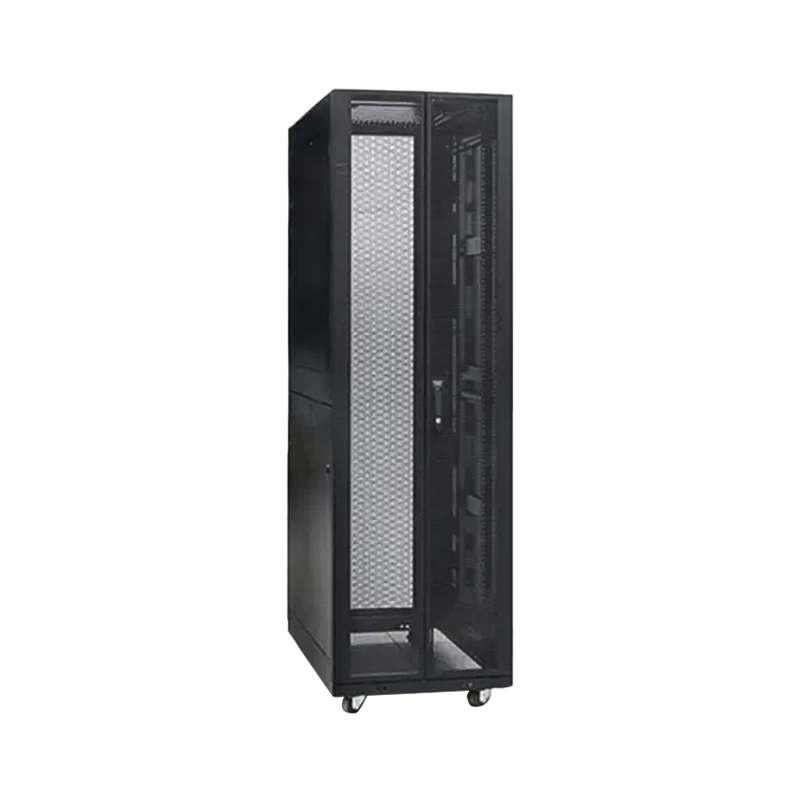
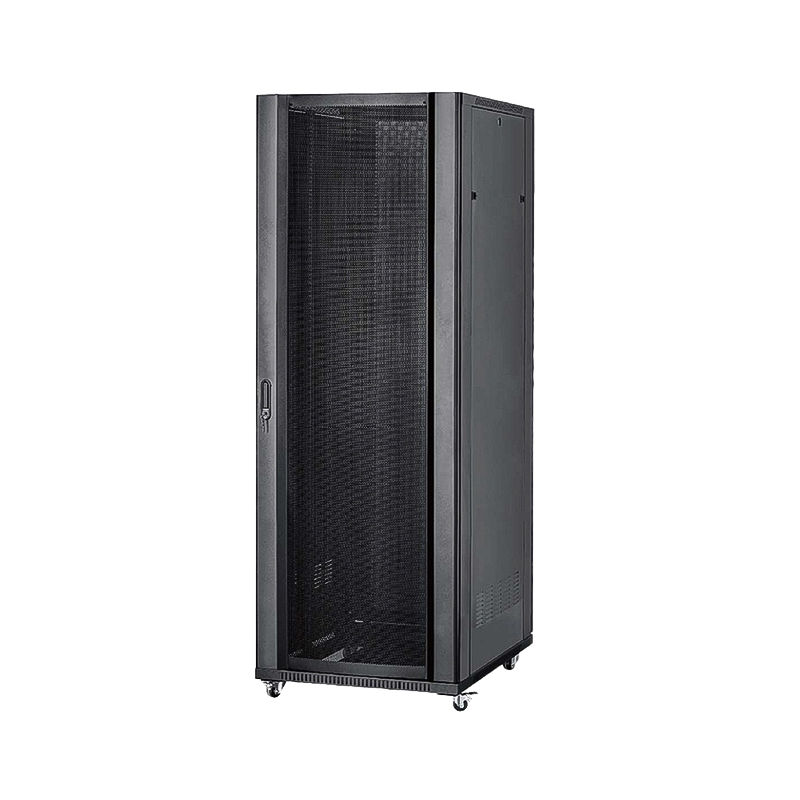
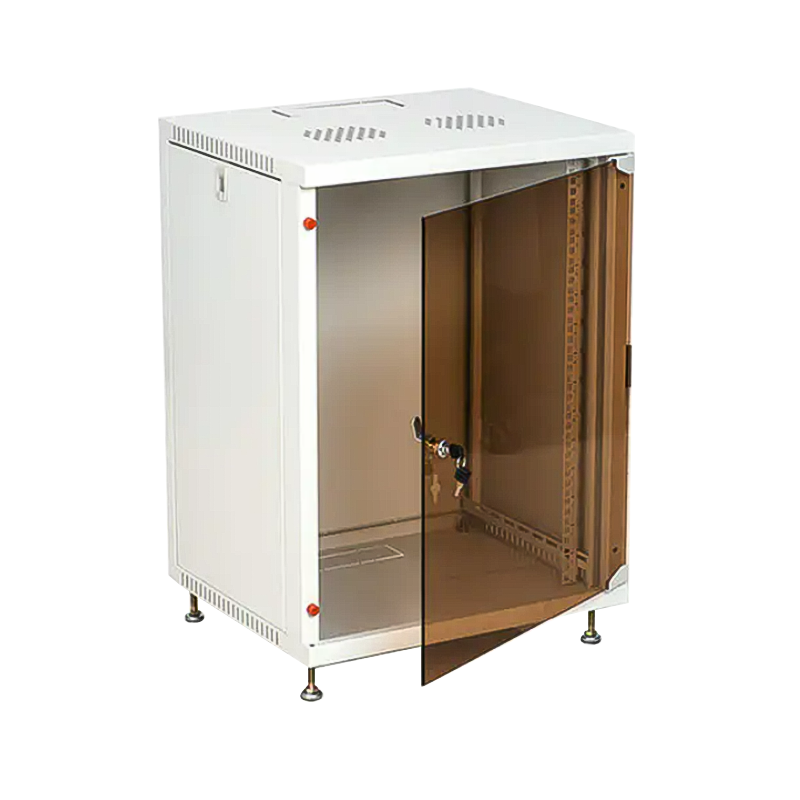
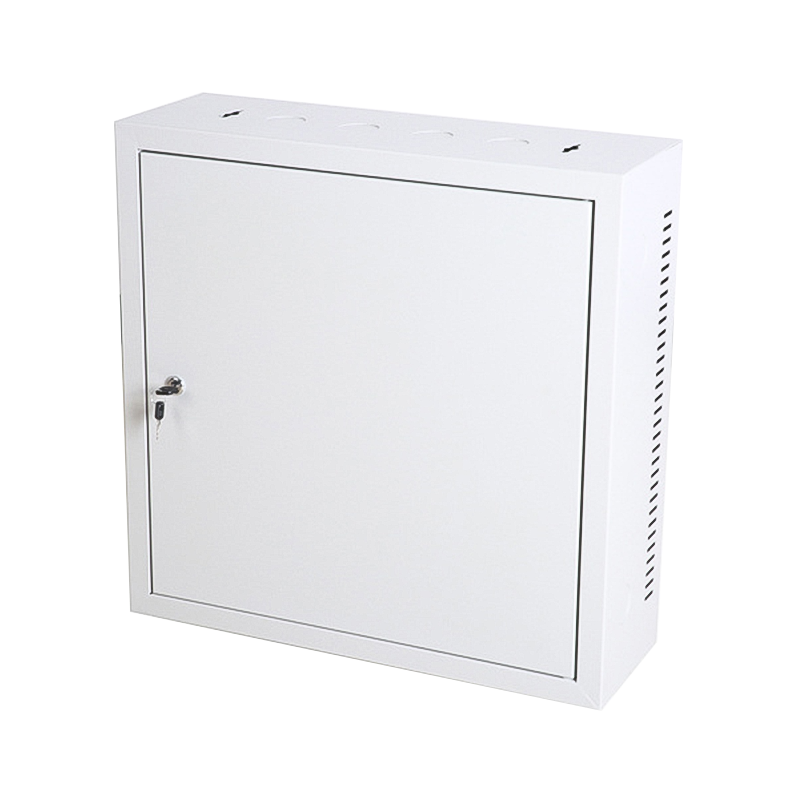

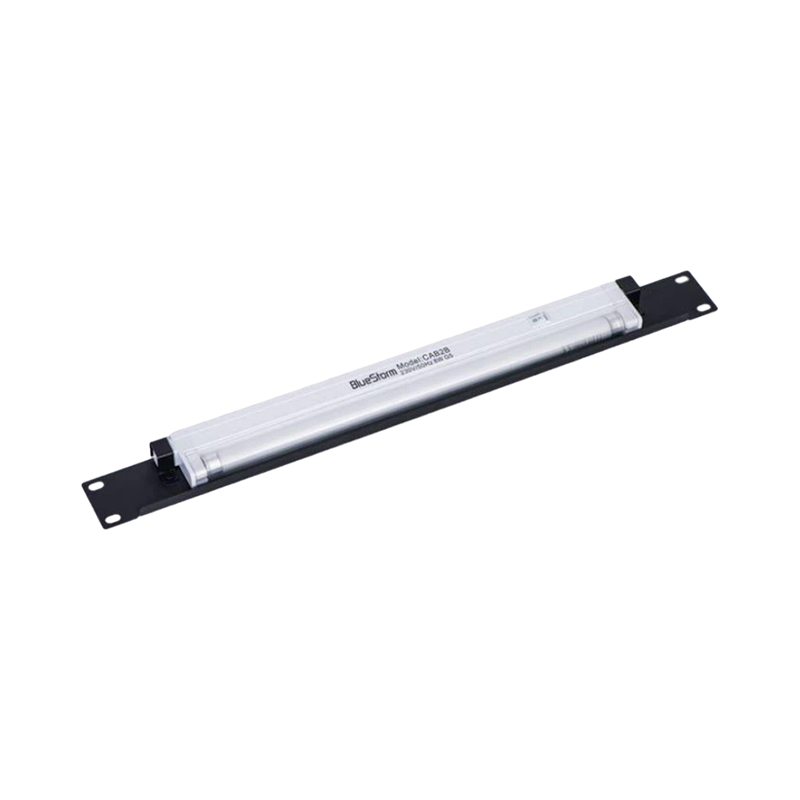

We are a company mainly engaged in the manufacturing of network cabinet , charging cart and other infrastructures.
Product Classification
Address
No.12 Fushan Road,Guanhaiwei Town,Cixi City,Ningbo,Zhejiang,China
PHONE
+86-17857397994